

What You Need to Know About Surface Sanitization for a Safer Living Space
You clean your home, but still worry about germs on busy touchpoints. That’s where surface sanitization helps. It adds a simple, science-backed step that cuts down the stuff you can’t see. In this guide, we’ll show you what works, what doesn’t, and how to keep your space safer without turning your routine upside down. We’re NanoGuard, and we help families and workplaces keep things clean in a way that lasts.
Surface Sanitization 101
Cleaning vs. Disinfecting vs. Surface Sanitization
Cleaning lifts dirt and crumbs. Disinfecting kills germs when you use the right product for the right time. Surface sanitization bridges both ideas. You remove soil first, then apply a product that knocks down germs to safer levels. That combo gives you a cleaner, safer surface.
How Surface Sanitization Works
Products need “dwell time.” That’s the wet time they need to work. Read the label and keep the surface wet for the whole time. Wipe too soon, and you lose most of the benefit. Hit high-touch areas first: knobs, switches, remotes, and faucets.
What “Long-Lasting” Protection Means
Some coatings add ongoing protection. They help between routine cleans, but don’t replace cleaning or good habits. Think of them as a helpful layer, not a magic shield.
Common Risks Lurking on Home Surfaces
Hotspots are areas where hands frequently go. This includes door handles, light switches, fridge pulls, and phones. The kitchen has the added risk associated with raw foods; the bathroom adds moisture and biofilm. The rest of the house brings soft materials like couches and rugs that require a different approach than counters and steel. You will have a different plan for cleaning materials and usage.
Choosing the Right Products (Safely)
Read the Label Like a Pro
Check the active ingredient and target germs. Look for EPA registration and approved lists for public health claims. Note the contact time and whether the product needs rinsing in food contact areas.
Material Compatibility
Granite, marble, and quartz don’t love harsh acids. Stainless shows streaks with the wrong wipes. Wood needs gentle formulas. For screens, use electronics-safe sprays on a microfiber cloth. Test a small spot first.
Safety Basics
Crack a window. Wear gloves if the label says so. Never mix chemicals. Bleach and ammonia don’t play well together. Store products out of reach and away from heat.
Step-by-Step Home Surface Sanitization Plan
Prep
Declutter first. Remove crumbs and sticky spots with soap and water. Clean surfaces let sanitizers work better. Set a timer for dwell time so you don’t rush.
Apply
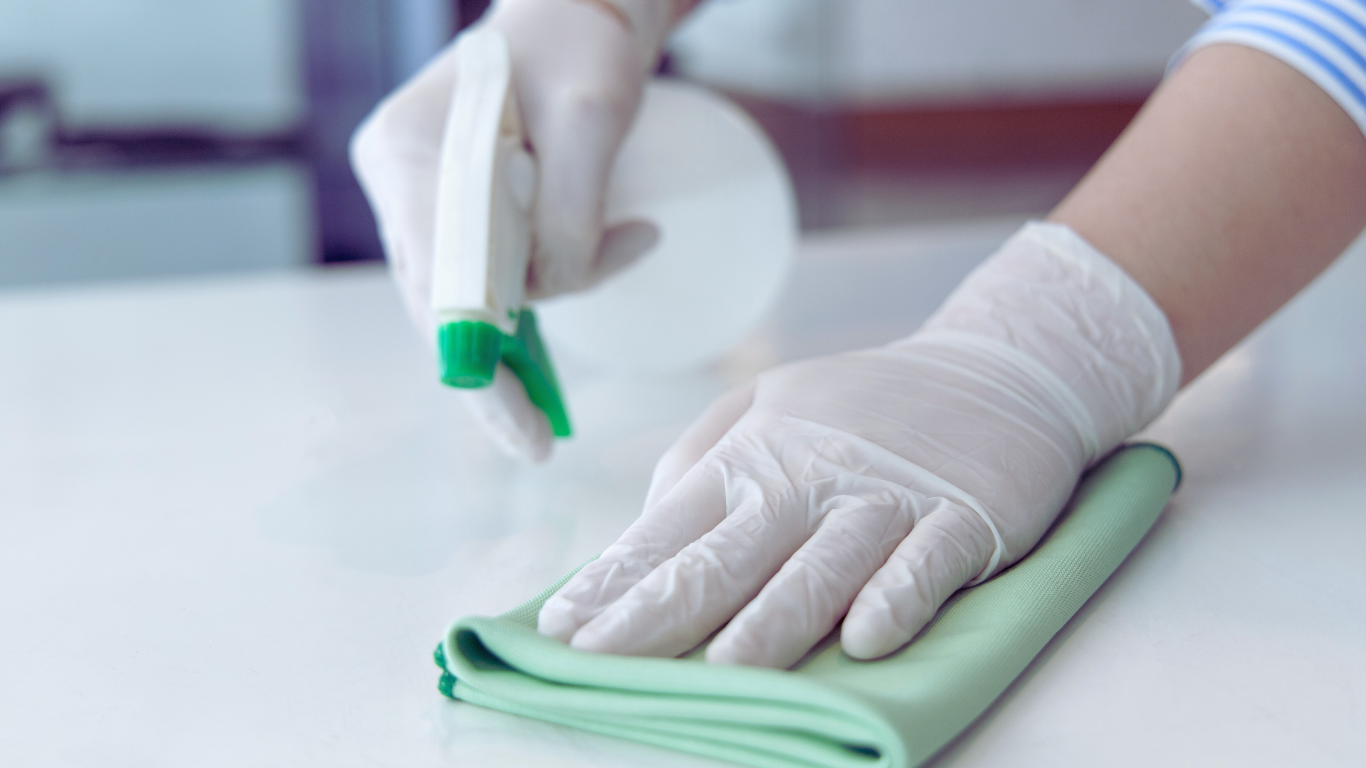
Work top to bottom and clean to dirty. Spray or wipe so the surface stays visibly wet for the whole time. Don’t skip edges or handles. Swap clothes when they look dirty.
Verify
Do a quick visual check. Use simple protein or ATP swabs on your biggest hotspots if you want extra peace of mind. You’ll see if your routine hits the mark.
Finish
Let surfaces air dry if the label allows. Rinse food-contact areas when required. Wash and dry clothes on hot or use disposables. Log your routine so others can help.
How Often Should You Sanitize? (Simple Schedule)
Daily: phones, faucet handles, fridge pulls, light switches, and counters after food prep
Two to three times weekly: bathroom touchpoints, remotes, railings, desk surfaces
Weekly: appliance pulls, interior door handles you touch less often
After events: company, illness in the home, raw chicken night, pet messes
Long-Lasting Surface Sanitization
What Coatings Can (and Can’t) Do
Coatings help lower germ levels between cleans and reduce recontamination on busy surfaces. However, they can’t replace regular cleaning and will not fix grime.
Best Use Cases
Use them on high-traffic areas, such as entry knobs, shared desks, breakroom counters, and kids’ play tables. Home offices and hobby benches also benefit.
Maintenance
Reapply according to the schedule the maker lists. Heavy scrubbing, strong solvents, and high heat can break down coatings faster, so keep an eye on those zones.
Mistakes to Avoid
Don’t spray and wipe right away. Give the product time. Don’t reuse a filthy cloth. You’ll move germs around. Don’t mix chemicals. Don’t forget porous or tricky items like game controllers and touchscreens.
Special Situations
After Illness
Focus on shared touchpoints: bathroom handles, remotes, phones, and bed rails. Wash linens on hot. Air out the room. Keep a simple checklist so the family can help.
Pets and Kids
Choose gentler options where hands and paws land. Rinse toys that go in mouths. Ventilate well. Store products high and locked.
Allergy or Asthma Homes
Pick low-odor, low-VOC options. Skip scented cleaners. Vacuum with a HEPA filter. Change HVAC filters on schedule.
DIY vs. Professional Surface Sanitization
DIY works for daily and weekly needs. You control it, and it fits your rhythm. Call pros if you have large areas, complex spaces, recurring issues, or you want long-lasting treatments. A pro service, like NanoGuard, brings coverage, measured dwell time, and verification tools. That saves you effort and keeps results consistent.
How NanoGuard Can Help
We build simple surface sanitization plans for busy homes and workplaces. We map hotspots, pick the right products, and set easy schedules. We also offer long-lasting options that keep high-touch zones safer between cleans. Our team speaks in plain language and keeps the process calm and clear. There is no pressure, just steps that work. If you want ongoing help, we can set check-ins so your plan stays sharp.
Keep It Simple, Keep It Safe
Clean first. Then, surface sanitization will be applied with the proper dwell time. Focus on the hotspots that hands touch most. Keep products matched to surfaces, and keep your routine light but steady. If you want a quick walkthrough or a tailored plan, NanoGuard can help you set it up and keep it going. You handle the day-to-day; we handle the details when you need a hand.
To stay updated with us, please follow our Facebook page.